
On this page
Top picks at a glance
As an Amazon Associate I earn from qualifying purchases.
- 1
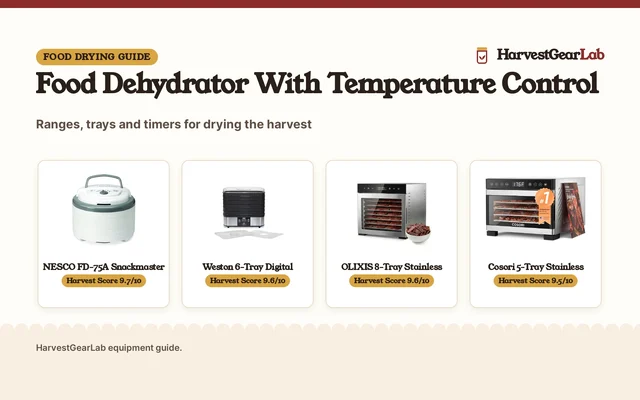
 Weston Food Dehydrator9.6/10View on Amazon
- 2
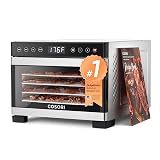 Cosori Food Dehydrator9.5/10View on Amazon
- 3
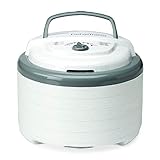 NESCO FD-75A Snackmaster Pro Food Dehydrator9.7/10View on Amazon
A basket of sliced apples in late summer waits on the counter, and the dehydrator is the tool that turns it into stores for winter. Food dehydrator temperature is the setting that decides how fast water leaves the food and how the finished batch tastes. This guide explains the setting in plain terms: what the dial does, how to match it to the food, and how to tell when a batch is dry.
HarvestGearLab earns a commission when you buy through links on this site, at no extra cost to you. As an Amazon Associate I earn from qualifying purchases. Affiliate disclosure.
Food dehydrator temperature: the short answer
The dial sets how warm the air inside the dehydrator runs. Warm air carries water away from the food, so a higher setting dries a batch faster and a lower setting dries it slower. Most foods dry well on a middle setting, with delicate foods on low and wet, dense foods on high. The table below gives the shape of that choice, and the sections after it explain each part.
| Food | What to watch |
|---|---|
| Herbs and flowers | Delicate leaves scorch easily, so keep the heat gentle |
| Fruit | Cut pieces evenly so they dry at the same pace |
| Vegetables | Thick pieces dry slower than thin slices |
| Fruit leather and puree | Spread thin on an edged tray so it sets evenly |
| Meat and jerky | Follow current USDA guidance for safe drying |
What the temperature dial does
The dehydrator warms air and moves it across the trays. Warm air picks up water from the surface of the food, and the moving air carries that water away, so the food dries from the outside in. A higher setting warms the air more, which pulls water out faster, but it can also dry the outside of a piece before the inside catches up, leaving a damp center under a dry skin. A lower setting dries slower and more evenly, which suits delicate foods that lose flavor or color in strong heat.
Fan speed and tray spacing matter as much as the dial, since still air dries nothing. Keep trays spaced so air can move between them, and spread food in a single layer with space between the pieces. Our how a food dehydrator works guide explains the warm air and trays that dry the food.
Match the setting to the food
Start from the food, not the dial. Herbs and flowers need gentle heat, since their leaves are thin and their flavor fades fast in strong heat. Fruit and vegetables sit in the middle: firm fruit and root vegetables take more heat than soft fruit and leafy greens. Fruit leather and puree need a setting that sets the surface without cooking the edges, spread thin on an edged tray. Meat and jerky need a high setting, and safe drying for meat follows current USDA guidance, not guesswork.
When a batch mixes foods, dry the wet food on its own tray and group foods that dry at a similar pace. Cut to an even size before the trays go in, since thick pieces dry slower than thin slices. Compare current options in our best digital food dehydrator guide, or see our best food dehydrator for fruit picks for fruit batches.
How to tell when a batch is dry
Look and feel, not the clock. A dry piece feels dry through, with no damp or cool spots, and fruit leather peels away from the tray in a sheet. Bend a cooled piece: fruit should bend without snapping or weeping moisture, and vegetables should feel crisp and light. Check pieces from more than a single tray, since trays near the fan dry faster than trays at the far end. Let the batch cool before you judge it, since warm food feels softer than it is.
Let the batch rest before storage
When the food feels dry, take it off the heat and let the batch rest before it goes into jars, so any damp pieces show up before storage. Spread the batch out while it rests, and check it again before packing. For safe drying and storage guidance, follow current USDA and National Center for Home Food Preservation guidance, since this guide gives no recipes, times or temperatures in degrees.
What this guide does not cover
This guide explains the temperature setting only. It does not give recipes, drying times, temperatures in degrees, or storage times. Take those from current USDA and National Center for Home Food Preservation guidance, or from a current edition of a trusted food preservation guide, and follow them exactly for each food. Every food drying guide on the site is collected in our food drying section.
FAQ: preserving at home
What temperature should I use to dry fruit?
Use a middle setting. Cut the fruit to an even size, spread it in a single layer, and check it by feel: a dry piece bends without weeping moisture.
Can I dry herbs in a food dehydrator?
Yes, on a low setting. Spread the leaves thin so air can move around them, and check them often, since thin leaves dry fast and scorch easily in strong heat.
Why is my food dry outside and damp inside?
The setting is likely too high for the piece, or the pieces are too thick. Lower the setting and cut thinner next time, so the inside can catch up with the outside.
Should I warm up a food dehydrator before loading it?
Letting the dehydrator warm up before the trays go in helps the first trays dry evenly. Load the trays when the air inside feels warm, and keep the door shut while the batch dries.
More preserving guides
See every food dehydrators guide and all Drying guides. Also see our best dehydrator sheets for vegetables picks. Also see our dehydrator sheets vs dehydrator trays comparison. Also see our drying net vs dehydrator sheets comparison.
More picks: dehydrator sheets for vegetables, digital food dehydrators, how a food dehydrator works and food dehydrators for fruit.