
On this page
Top picks at a glance
As an Amazon Associate I earn from qualifying purchases.
- 1
 SKYBD Wide Mouth Canning Lids and Rings9.7/10View on Amazon
- 2
 Dalzom 24 Canning Lids with 24 Rings9.6/10View on Amazon
- 3
 OAKDOLCHE 48 Pcs Regular Mouth Mason Canning Jar Lids9.6/10View on Amazon
- 4
 Ball Wide Mouth Glass Mason Jars with Lids and BandsView on Amazon
- 5
 Ball Regular Mouth Glass Mason Jars with Lids and BandsView on Amazon
- 6
 Ball Regular Mouth Lids for Glass Mason JarsView on Amazon
- 7
 Ball Glass Mason Jars Wide Mouth 16ozView on Amazon
- 8
 Ball Wide Mouth Clear Glass Canning Quart 32 Oz Mason JarsView on Amazon
- 9
 Ball Glass Mason Jars with Lids and BandsView on Amazon
A counter covered in ripe tomatoes and a crate of clean jars means canning day is close, and knowing how to sterilize canning lids is part of getting ready. Wash new lids in warm soapy water, warm them in a pot of water until they are hot through, and keep them warm until each jar is filled and capped. This guide walks through each move in order, what to check on every lid, and what to leave out of the pot.
Runners-up to consider
 Ball Wide Mouth Glass Mason Jars with Lids and BandsCheck price on Amazon
 Ball Regular Mouth Glass Mason Jars with Lids and BandsCheck price on Amazon
 Ball Regular Mouth Lids for Glass Mason JarsCheck price on Amazon
 Ball Glass Mason Jars Wide Mouth 16ozCheck price on Amazon
 Ball Wide Mouth Clear Glass Canning Quart 32 Oz Mason JarsCheck price on Amazon
 Ball Glass Mason Jars with Lids and BandsCheck price on Amazon
HarvestGearLab earns a commission when you buy through links on this site, at no extra cost to you. As an Amazon Associate I earn from qualifying purchases. Affiliate disclosure.
How to sterilize canning lids in a pot of water
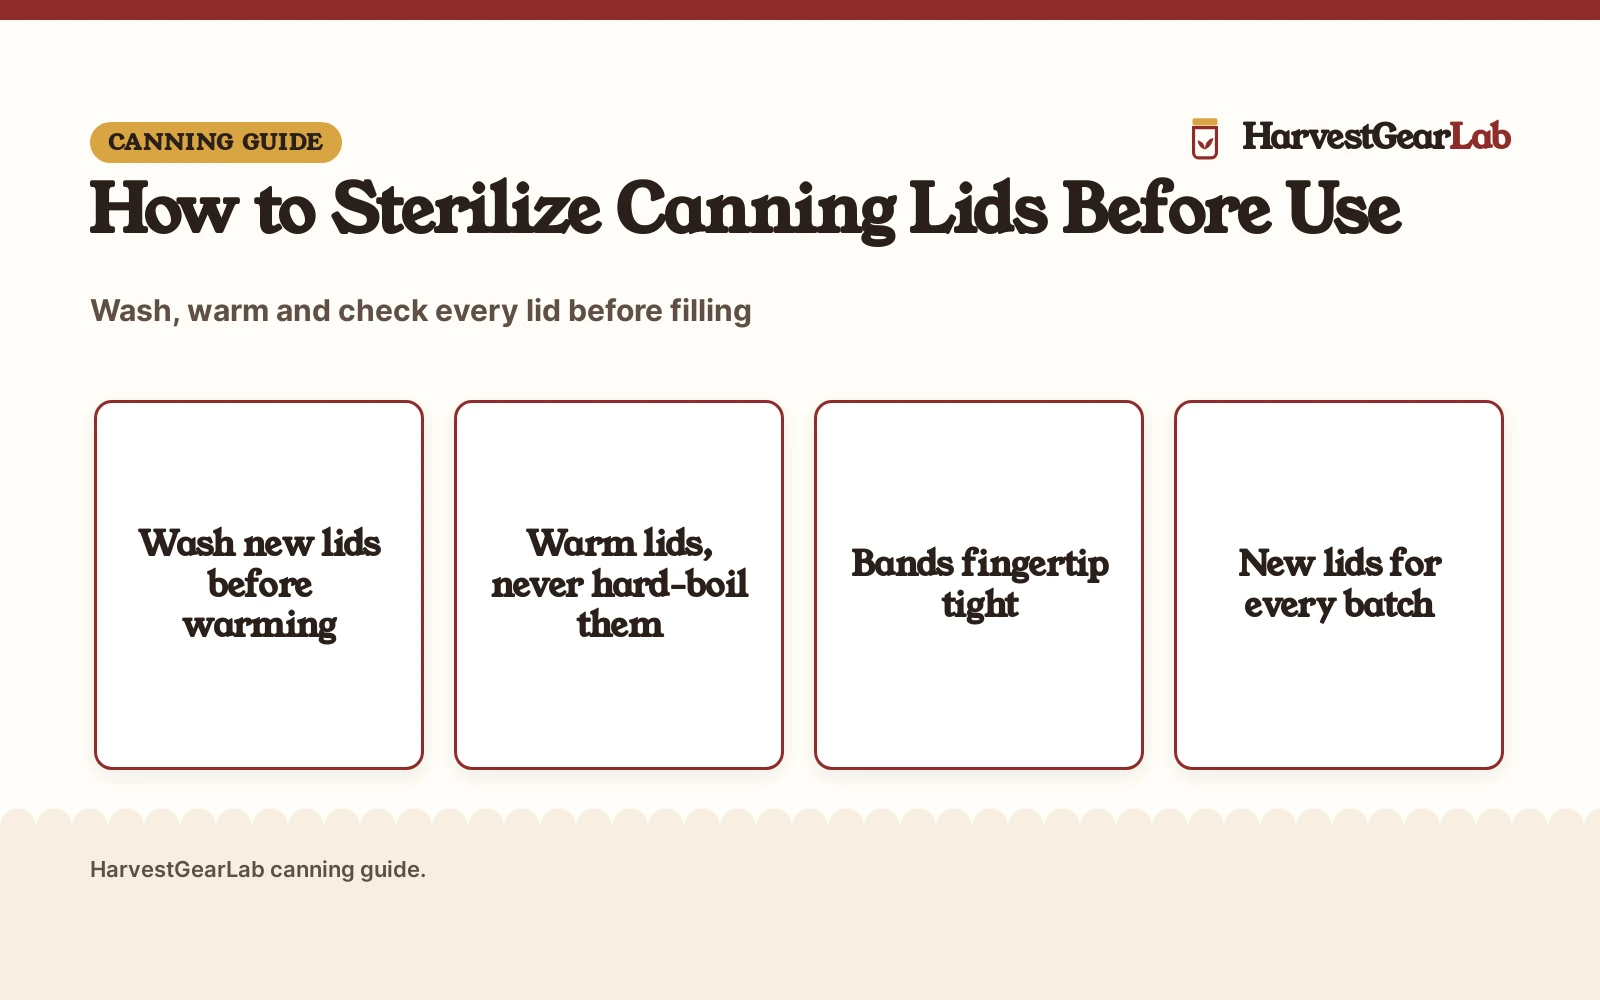
Sterilizing starts with clean lids, not with the pot. Wash each lid and band in warm soapy water, rinse, and set them aside while a pot of water heats. Lower the lids into the water, keep the water hot without a rolling boil, and leave the lids in the pot until the jars are ready to fill. A lid lifter or magnetic wand lifts each lid out without touching the sealing ring.
| Move | What to do | Why it matters |
|---|---|---|
| Wash | Warm soapy water, soft cloth, rinse | Removes dust and residue from storage |
| Warm | Lower lids into a pot of hot water | Softens the sealing compound so it can grip the jar rim |
| Hold | Keep lids in the hot water until filling | A warm lid is ready to grip the rim right away |
| Lift | Use a wand or lifter, not fingers | Keeps fingers off the sealing ring |
Wash the lids and bands
Wash new lids and bands in warm water with mild dish soap, using a soft cloth or sponge, then rinse and let them drain. Washing matters even for lids fresh from the box, since dust and packing residue settle on the sealing ring during storage. While you wash, look at the sealing compound around the rim of each lid: it should look smooth and even, with no cracks, nicks or gaps. Set aside any lid with a bent edge, a dented rim or damaged compound, and use a fresh lid in its place.
Warm the lids, do not hard-boil them
Fill a pot with enough water to cover the lids and set it over heat until the water steams. Lower the lids into the water with a lid lifter, keeping them in a loose layer so water reaches every surface. Hold the water hot, below a rolling boil, and leave the lids in the pot while you fill the jars. A hard boil can soften the sealing compound too much and leave it uneven, so gentle heat is the better course. If you want exact times and temperatures for your recipe, follow current USDA and National Center for Home Food Preservation guidance, since those figures change with the food and the jar size.
Match the lid to the jar
Regular-mouth and wide-mouth jars take different lids, so match the lid to the jar before you start. A bulk set such as the SLifeJars regular-mouth (on Amazon) set lists 70 mm lids, with 120 lids and 120 rings in the box, and fits most ordinary regular-mouth mason jars. It is not made for wide-mouth jars, so confirm the mouth size of your jars before buying. A lid that is too large will not sit flat on the rim, and a lid that is too small will not cover it. The guide to canning jar lid sizes shows how regular and wide mouth sizes differ.
Keep the lids warm until filling
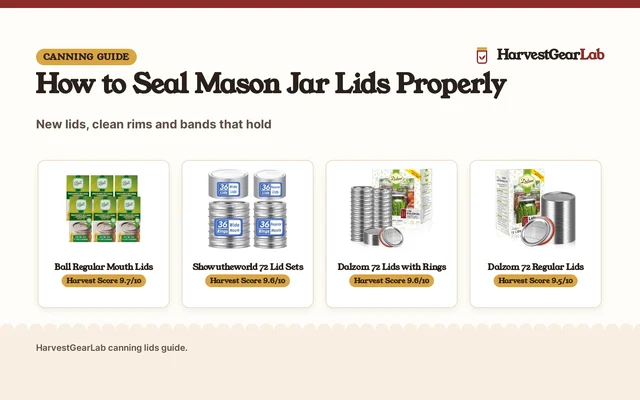
Fill the jars while the lids are still warm from the pot. Lift each lid with a lid lifter or magnetic wand so your fingers stay off the sealing ring, set it on the jar rim, and screw the band down just to fingertip tightness. Do not overtighten the band: the listing for the SLifeJars set warns that a band screwed down too hard can keep gas from escaping and swell the lid out of shape. A jar filled and capped this way is ready for the canner. Most canning tool kits include a lid lifter; the best canning tool kit comparison lines up the sets by pieces and materials. The guide to how to seal mason jar lids covers the seal check after the jars cool.
What to check on every lid
Check every lid before it goes on a jar. Look for a smooth sealing ring, a flat rim, and a surface free of rust and dents. Flat lids are made for one-time use when they are used for water bath canning or pressure canning, so start each batch with new lids. The same lids and rings can be reused for dry storage, such as spices and seeds, after their canning life is over. Bands that are free of rust and still turn smoothly can go back on the shelf for the next batch. When a lid or band fails any of these checks, set it aside for storage use rather than risking a weak seal. The guide to whether you can reuse canning lids goes deeper on reuse.
What to leave out of the pot
- Jars in the oven: dry oven heat is not a safe way to heat jars for canning, so keep jars and lids out of the oven.
- Bleach and oven cleaner: neither belongs on lids or jars; mild dish soap and water do the job, and never mix cleaners.
- Used flat lids: a lid that already sealed a jar should not be trusted to seal again, so use new lids for canning.
- Electric pressure cookers: do not use it for canning unless the maker states it is made for pressure canning.
- Times and temperatures from memory: take those from current USDA and National Center for Home Food Preservation guidance, not from habit.
FAQ: preserving at home
Do I need to sterilize canning lids before every batch?
Yes. Wash new lids in warm soapy water and warm them in a pot of water before filling, even if the box is freshly opened. Dust and packing residue settle on the sealing ring during storage.
Can I boil canning lids?
A hard boil can soften the sealing compound too much, so keep the water hot without a rolling boil. Warm lids are ready to seal, and current USDA guidance gives the exact figures for your recipe.
Can I reuse canning lids?
Flat lids are made for one-time use in water bath canning or pressure canning. The same lids and rings can be reused for dry storage, such as spices and seeds.
Do the screw bands need warming too?
Wash the bands with the lids and keep them nearby. Bands do not carry the sealing compound, so they only need to be clean and free of rust before you screw them on fingertip tight.
More preserving guides
See every canning lids guide and all canning guides.
More picks: canning lids for beginners, magnetic lid lifters, how long to boil lids for canning and Ball vs Kerr canning lids.