
On this page
Top picks at a glance
As an Amazon Associate I earn from qualifying purchases.
- 1
 Magic Mill Pro Food Dehydrator Machine9.7/10View on Amazon
- 2
 Cosori Food Dehydrator9.7/10View on Amazon
- 3
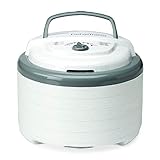 NESCO FD-75A Snackmaster Pro Food Dehydrator9.7/10View on Amazon
- 4
 Cosori Food DehydratorView on Amazon
- 5
 Presto 06300 Dehydro Electric Food DehydratorView on Amazon
- 6
 OSTBA Food DehydratorView on Amazon
- 7
 Hamilton Beach Digital Food Dehydrator for FruitView on Amazon
- 8
 NutriChef Food Dehydrator MachineView on Amazon
- 9
 Nutrichef Electric Countertop Food DehydratorView on Amazon
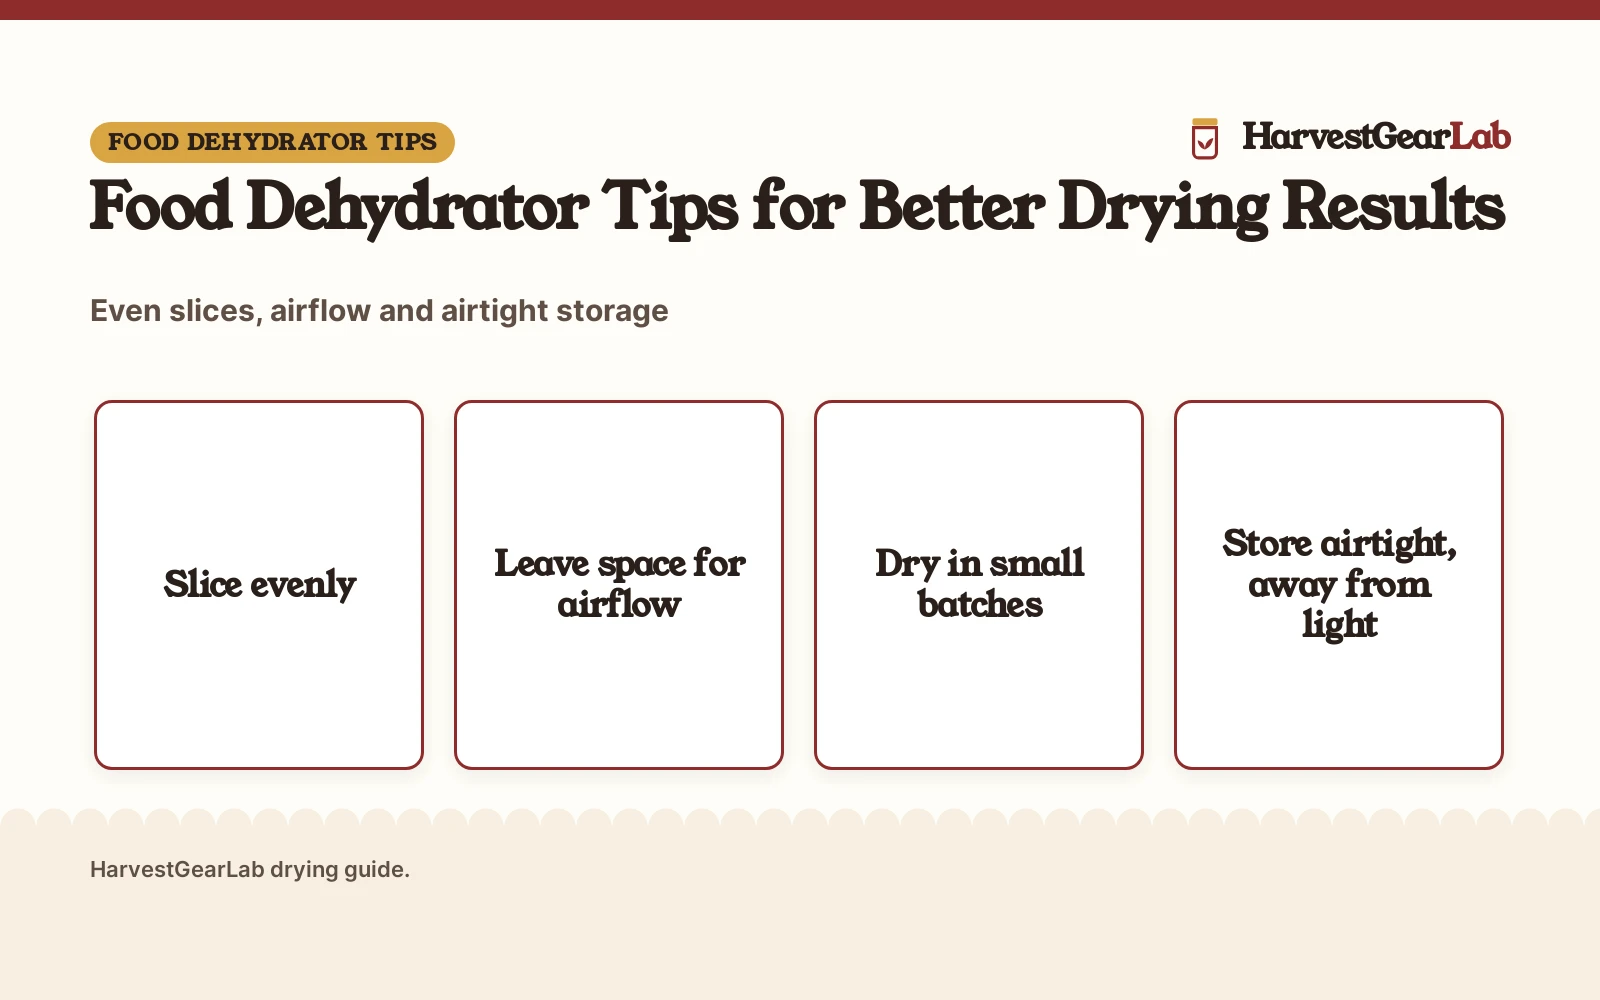
A counter full of sliced apples and a basket of herbs from the garden are the start of a drying session, and food dehydrator tips make the difference between crisp, evenly dried food and trays that come out leathery in spots and damp in others. The short answer: slice evenly, leave space for air on every tray, dry in small batches, and store the finished food in airtight containers away from light. The tips below walk through each step in the order it matters, and point to the site’s dehydrator guides where a topic needs more detail.
Runners-up to consider
 Cosori Food DehydratorCheck price on Amazon
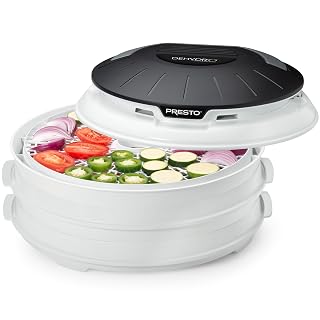 Presto 06300 Dehydro Electric Food DehydratorCheck price on Amazon
 OSTBA Food DehydratorCheck price on Amazon
 Hamilton Beach Digital Food Dehydrator for FruitCheck price on Amazon
 NutriChef Food Dehydrator MachineCheck price on Amazon
 Nutrichef Electric Countertop Food DehydratorCheck price on Amazon
HarvestGearLab earns a commission when you buy through links on this site, at no extra cost to you. As an Amazon Associate I earn from qualifying purchases. Affiliate disclosure.
Food dehydrator tips: the short list
These tips cover the whole drying session, from slicing to storage. The table shows what each tip does and what to watch for.
| Tip | What it does | Watch for |
|---|---|---|
| Slice evenly | Evens drying across the tray | Thick pieces stay damp inside |
| Leave space for air | Lets warm air reach every piece | Crowded trays trap moisture |
| Dry in small batches | Keeps the load even from tray to tray | A heavy load dries unevenly |
| Check pieces as they dry | Catches pieces that finish early | Some pieces dry before others |
| Store airtight | Keeps moisture and air out of dried food | Open storage lets moisture back in |
The sections below take each tip in turn, with links to the site’s dehydrator guides where a topic needs more detail.
Slice evenly
Even slices dry at the same pace, so a tray of matching pieces finishes together instead of leaving thick pieces damp while thin pieces turn brittle. Cut fruit and vegetables to the same thickness with a sharp knife, and trim away bruised or soft spots before the pieces go on the tray. A mandoline or a slicer helps keep the thickness steady across a large batch, and it keeps the work moving when the harvest is heavy.
Pieces that match in size also sit better on the tray, with no thick piece shading a thin piece from the warm air. If a piece looks thicker than the rest, slice it again before it goes on the tray. Even slicing is the tip that makes every other tip work, since airflow and batch size cannot fix a tray of mixed thicknesses.
Load the trays with space for air
Warm air has to reach every piece, so load each tray in a thin layer with space between the pieces and no overlap. Pieces that touch trap moisture where they meet, and the damp spot stays damp while the rest of the tray dries. Leave the edges of the tray clear as well, so air can move around the load and not only through the middle.
Small pieces that fall through tray gaps need a sheet or a mesh liner under them. See the dehydrator sheets vs dehydrator trays comparison for the options, and pick the liner that suits the food. A liner also keeps sticky pieces from gluing themselves to the tray, which makes cleanup easier.
Dry in small batches
A small batch dries more evenly than a heavy load, since warm air can reach every tray without fighting through layers of food. Fill the trays you need for the food at hand, and leave the rest of the trays out of the machine. A batch of the same food dries at a steady pace, while a mixed load leaves fast-drying pieces waiting on slow ones.
Heat settings change with the food, so match the setting to what is on the trays. The food dehydrator temperature guide covers heat settings by food type, and the how does a food dehydrator work guide explains how warm air and trays do the drying. Start with a small batch of a food you know well, and use what you learn from it for the next batch.
Check pieces as they dry
Pieces finish at different paces, so check the trays as they dry and pull out the pieces that are done. A piece that stays in after it is dry turns brittle, while a piece pulled too early stays damp inside. Let a piece cool before you judge it, since a warm piece feels softer than it is when it cools.
Fruit leather needs the same check: it should bend without sticking to itself, and it should feel dry to the touch with no wet spots. See the how to make homemade fruit leather guide for the full method, from puree to finished leather. Herbs dry faster than fruit, so check them early and often, and pull them as soon as they crumble.
Store dried food airtight
Let dried food cool completely before it goes into a container, since warm food sealed in a jar traps moisture and undoes the drying. Pack the cooled food in airtight containers, and keep the containers away from light and heat. A pantry shelf out of direct sun suits most dried food, and a cool cupboard works as well.
A kitchen scale for dehydrating helps portion dried food into even batches for storage, and a label on each container records what is inside. See the best airtight containers for dehydrated food guide for container options that seal well. Check the seal before you put a container away, and open any container that shows moisture inside.
What this guide does not cover
This is a tips guide. It does not give recipes, drying times, temperatures or storage times. Take those from current USDA and National Center for Home Food Preservation guidance, or from a current edition of a trusted preserving guide, and follow them exactly for each food. Every drying guide on the site is collected in the food drying section.
FAQ: preserving at home
How do I know when food is dry enough?
Let a piece cool, then check it: dried fruit should bend without feeling damp, and dried herbs should crumble. If a piece feels cool or damp, put it back for more drying.
Can I dry different foods at the same time?
Yes, if the foods need the same heat and dry at a similar pace, and if strong flavors will not carry from tray to tray. Drying small batches of the same food gives the most even result.
Why is my dried food sticky or damp in spots?
Thick pieces and crowded trays are the common cause: thick pieces and pieces with no space around them hold moisture. Slice evenly, leave space for air, and check pieces as they dry.
Do I need a dehydrator with a fan and a heat control?
A fan moves warm air over every tray, and a heat control lets you match the setting to the food. See the food dehydrator temperature guide and the how does a food dehydrator work guide for the details.
How should I store dried food?
Cool it completely, then pack it in airtight containers and keep it away from light and heat. Label each container with the contents, and check the seal before you put it away.
More preserving guides
See every food dehydrators guide and all food drying guides.
More picks: digital food dehydrators, food dehydrators for fruit, electric vs non electric food dehydrator and drying and curing for beginners.