
On this page
Top picks at a glance
As an Amazon Associate I earn from qualifying purchases.
- 1
 Marcato Marga Mulino Grain Mill and Flaker9.5/10View on Amazon
- 2
 Kitchen Crop Grain Mill with Stainless Steel Burrs9.5/10View on Amazon
- 3
 Wpokke Stone Grain Mill9.5/10View on Amazon
- 4
 Country Living Hand Grain MillView on Amazon
- 5
 Grain Mill Grinder 750g High Speed Electric Stainless SteelView on Amazon
How to use grain mill is the question that comes up when a sack of wheat berries arrives and the mill sits on the counter, ready for its first run. The short answer is to set the grind, feed the grain slowly, mill in passes and sift for fine flour. This guide walks through each pass in order, so the flour comes out even and the mill stays in good shape.
Runners-up to consider
 Country Living Hand Grain MillCheck price on Amazon
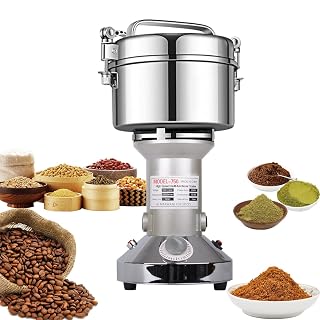 Grain Mill Grinder 750g High Speed Electric Stainless SteelCheck price on Amazon
HarvestGearLab earns a commission when you buy through links on this site, at no extra cost to you. As an Amazon Associate I earn from qualifying purchases. Affiliate disclosure.
How to use grain mill: the short answer
A grain mill turns whole grain into flour by passing it between burrs or stones, and the grind setting decides how fine the flour comes out. The work breaks into stages: set the grind, feed the grain, mill in passes and sift the flour. The table below sums up each stage.
| Stage | What it does | Watch for |
|---|---|---|
| Set the grind | Sets how fine the flour comes out | Start coarse, then go finer |
| Feed the grain | Moves grain through the burrs | Feed slowly, never force it |
| Mill in passes | Grinds coarse flour finer | Pass the flour through again |
| Sift and store | Removes bran for fine flour | Store in a cool, dry place |
Choose the grain for the mill
Any whole grain can go through a mill, from wheat and rye to oats and corn, but each grain mills differently. Hard grains need a firmer turn and more passes, while soft grains break down fast and can clog a fine setting. Start with wheat, which mills evenly and forgives a coarse first pass, and try other grains after you know how the mill feels. Dry grain only: damp grain sticks to the burrs and comes out as paste, not flour.
Set the grind first
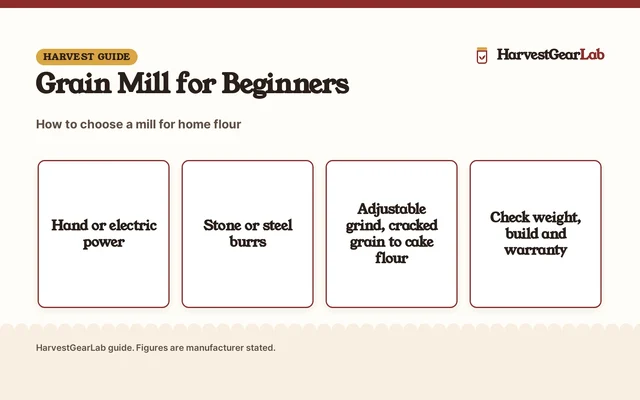
Start with the grind setting, before any grain goes in the hopper. A good hand mill adjusts from cracked grain to cake flour, so you can pick the texture the bake needs and work toward it in passes. Turn the adjustment toward coarse for a first pass, and save the fine setting for the last pass, when the flour is already broken down. A mill that only runs fine from the start clogs more often and works harder than it needs to.
Feed the grain slowly
Pour a small amount of grain into the hopper and turn the handle at a steady pace. The burrs pull the grain through on their own, and forcing more grain in only jams the mill. Listen to the sound as you crank: a steady crunch means the grain is moving, and a sudden silence means the hopper needs more grain or the burrs need clearing. The Country Living mill lists a weight of 16 pounds, and that cast body stays put on the counter while you crank, so you can hold the bowl with the other hand.
Mill in passes for fine flour
Fine flour comes from passes, not from the finest setting at the start. Run the grain through on a coarse setting, then pass the flour through again on a finer setting, and repeat until the flour feels right. Sift the flour after the last pass to take out the bran, and pass the bran through again if you want it finer. The how to mill flour guide walks through the same passes with more detail on each grain.
Clean and store the mill and the flour
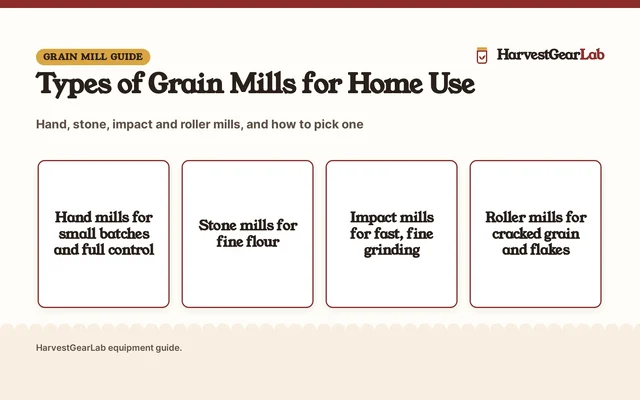
Brush the flour out of the burrs and the hopper after each use, and keep the mill dry so the metal stays free of rust. Store fresh flour in a sealed container in a cool, dry place, and mill only what you need for the next bake, since fresh flour loses its aroma faster than flour from the shop. The types of grain mills guide shows which mills suit hand cranking and which suit a motor, so you can match the mill to the amount you bake.
What this guide does not cover
This is a guide to using a mill. It does not give recipes, milling times or flour ratios. Take those from a current baking guide, and follow them exactly for each grain. Every harvest and processing guide on the site is collected in the harvest and processing section.
FAQ: preserving at home
Do you need to clean grain before milling?
Yes. Pick out stones and debris, and make sure the grain is dry before it goes in the hopper. Wet grain clogs the burrs and spoils the flour.
How many passes does flour need?
Flour can come out in the first pass, but a coarse first pass followed by a finer pass gives a more even flour. Pass the flour through again until it feels right for the bake.
What grind should you use for bread flour?
Start coarse and work finer until the flour suits the bake, using the adjustment from cracked grain to cake flour. Sift out the bran if you want a lighter loaf.
How do you store fresh flour?
Store it in a sealed container in a cool, dry place, and mill only what you need for the next bake. Fresh flour loses its aroma faster than flour from the shop, so small batches stay fresher.
More preserving guides
See every grain mills guide and all harvest and processing guides.
More picks: how to mill flour, types of grain mills, manual hand grain mill and manual stone grain mill.