
On this page
Top picks at a glance
As an Amazon Associate I earn from qualifying purchases.
- 1
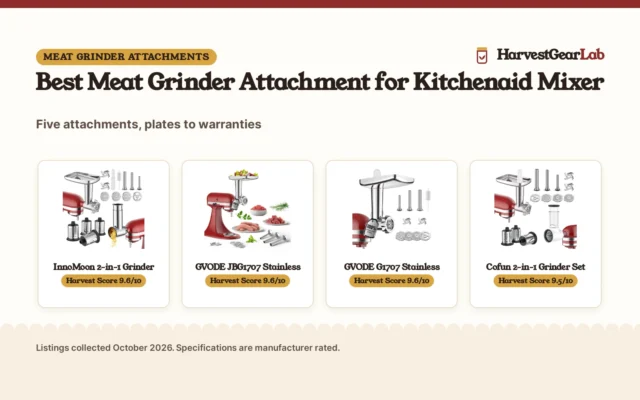
 InnoMoon Meat Grinder and Slicer Shredder Attachment for9.6/10View on Amazon
- 2
 GVODE Stainless Steel Meat Grinder Attachment for KitchenAid9.6/10View on Amazon
- 3
 GVODE Stainless Steel Meat Grinder Attachment for KitchenAid9.6/10View on Amazon
- 4
 COFUN Meat Grinder & Slicer Shredder Attachments forView on Amazon
- 5
 Pasta Maker Attachment for Kitchenaid/ Cuisinart MixersView on Amazon
- 6
 HOZODO Meat Grinder & Slicer Shredder Attachments forView on Amazon
- 7
 Stainless Steel Mixer Attachments for KitchenAid 4.5/5QT MixerView on Amazon
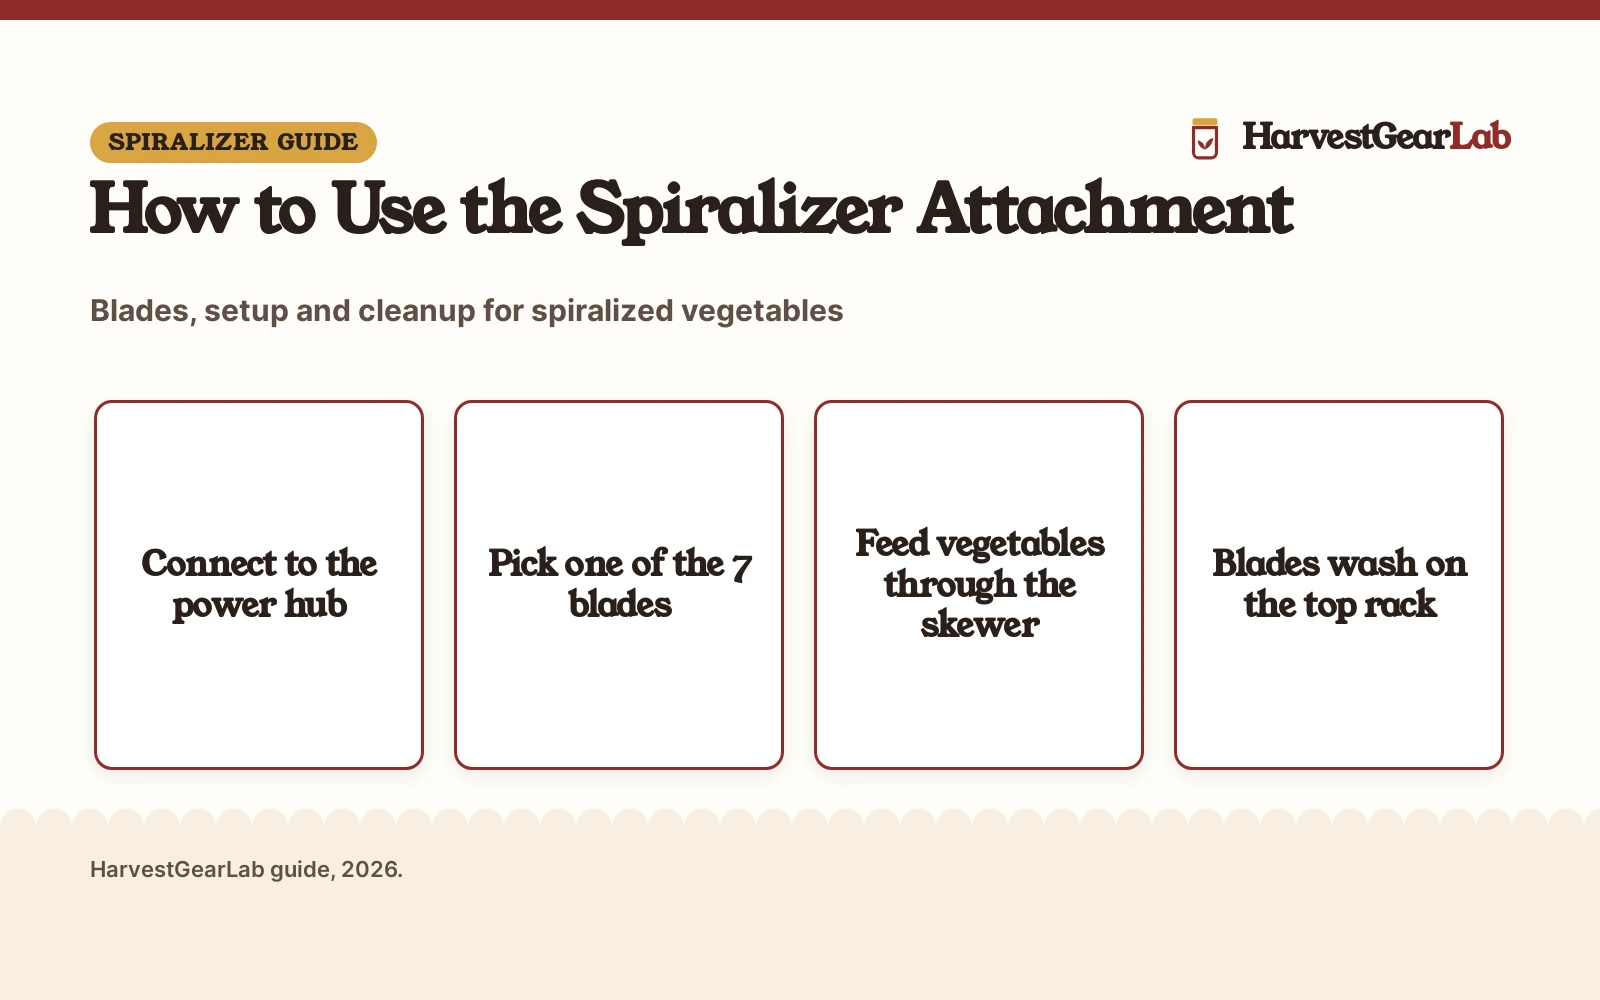
A counter full of zucchini from the garden calls for something faster than a knife, and how to use kitchenaid spiralizer attachment is the question that follows the box home. The short answer: connect the attachment to the stand mixer power hub, pick a blade, skewer the vegetable, and let the mixer motor turn it into spirals, ribbons or slices. This guide walks through each step in order, from setup to cleanup.
Runners-up to consider
 COFUN Meat Grinder & Slicer Shredder Attachments forCheck price on Amazon
 Pasta Maker Attachment for Kitchenaid/ Cuisinart MixersCheck price on Amazon
 HOZODO Meat Grinder & Slicer Shredder Attachments forCheck price on Amazon
 Stainless Steel Mixer Attachments for KitchenAid 4.5/5QT MixerCheck price on Amazon
HarvestGearLab earns a commission when you buy through links on this site, at no extra cost to you. As an Amazon Associate I earn from qualifying purchases. Affiliate disclosure.
How to use kitchenaid spiralizer attachment: the short version
The attachment comes with 7 quick-change blades: 3 for spiralizing, 3 for slicing, and an optional peeling blade. The table shows what each one makes, so you can match the blade to the cut you want before the vegetable goes on the skewer.
| Blade | What it makes | Use it for |
|---|---|---|
| Extra fine spiralizing | Fine spirals | Thin noodles from firm vegetables |
| Fine spiralizing | Spirals | Everyday noodles from zucchini and sweet potatoes |
| Medium spiralizing | Thick spirals | Hearty noodles that hold sauce |
| Thin slicing, small core | Thin slices | Chips and garnishes from small vegetables |
| Slicing, small core | Slices | Even rounds from small vegetables |
| Slicing, large core | Slices | Wide rounds from large vegetables |
| Peeling | Peeled skin | Peeling before spiralizing or slicing |
Keep the blade chart near the mixer while you learn the set. The spiralizing blades turn firm vegetables into noodles, the slicing blades cut even rounds, and the peeling blade takes the skin off first.
Attach it to the stand mixer
Connect the attachment to the power hub of any household KitchenAid stand mixer. The attachment runs off the mixer motor, so there is no separate motor or cord to plug in. The mixer is sold separately, so check that the mixer is on the counter before you start. Slide the attachment onto the hub until it sits firm, then set a bowl under the blade to catch the cut vegetables.
Pick a blade and load the vegetable
Pick a blade for the cut you want and slide it into the attachment. Push the fruit and vegetable skewer through the center of the vegetable to hold it steady while the blade cuts. The skewer comes in the box with the attachment, along with the storage case. Trim the ends of the vegetable so it sits flat against the blade, and peel it first if the skin is tough or if you plan to use the peeling blade. The slicing blades come in small core and large core versions, so match the core to the width of the vegetable.
Spiralize step by step
Start the mixer on a low speed and feed the vegetable toward the blade, letting the blade cut while the skewer turns the vegetable. Keep your hands clear of the blade and the skewer, and stop the mixer before you adjust the vegetable or change the blade. When the vegetable runs down to a small core, stop and lift out the core. Catch the spirals in a bowl below the attachment, then switch the mixer off before you remove the bowl.
Keep the cut even
Feed the vegetable at a steady pace and let the blade do the work, instead of pushing hard. If the spirals come out short or broken, check that the vegetable sits straight on the skewer and that the blade is the right one for the cut. A vegetable that wobbles on the skewer will cut unevenly, so trim the ends flat and center it before you start the mixer.
What to spiralize
Zucchini, sweet potatoes and turnips are the usual starting points, since firm vegetables hold their shape as spirals. Cucumbers and apples also work when they are firm and straight, while soft fruit and leafy vegetables do not hold up to the blade. Cut large vegetables to fit the skewer, and use the slicing blades for vegetables that are too wide to spiralize. See the spiralizer uses guide for more ideas on what to make with the cut vegetables.
Cleanup and storage
All blades are dishwasher safe on the top rack. Wipe the body clean with a warm damp cloth. The attachment and accessories fit inside its own storage case, which keeps the blades together and easy to find. The attachment weighs 2.4 pounds and measures 5.8 by 12.4 by 2.9 inches, so the case fits on a shelf or in a cupboard.
Other ways to spiralize
Not every spiralizer needs a stand mixer. The Hamilton Beach food processor (on Amazon) in the listings pairs a spiralizer blade (on Amazon) with a 10 cup bowl, a 2.5 inch feed chute and a 450 watt motor, so a whole zucchini or a block of cheese fits the chute, and all food zones are BPA-free. A handheld spiralizer, such as the 7-blade model in the listings, works without power at all. See the hand crank vs electric spiralizer comparison if no stand mixer is on the counter.
FAQ: preserving at home
Does the spiralizer attachment fit all KitchenAid stand mixers?
Yes. It connects to the power hub of any household KitchenAid stand mixer, and the mixer is sold separately.
How many blades come with the KitchenAid spiralizer attachment?
It comes with 7 quick-change blades: 3 for spiralizing, 3 for slicing, and an optional peeling blade.
Can the spiralizer blades go in the dishwasher?
Yes. All blades are dishwasher safe on the top rack. Wipe the body clean with a warm damp cloth.
What can I spiralize with the attachment?
Firm vegetables and fruit hold up best, such as zucchini, sweet potatoes and turnips. Soft fruit and leafy vegetables do not hold their shape under the blade.
Do I need the stand mixer to use the spiralizer attachment?
Yes. The attachment connects to the stand mixer power hub and runs off the mixer motor, and the mixer is sold separately.
More preserving guides
See every food mills guide and all harvest processing guides.
More picks: spiralizer for cabbage, potato slicer vs spiralizer, stainless steel vs plastic spiralizer and hand crank vs electric spiralizer.